Best Microscopes for Electronic Repair
Whether you’re trying to replace the HDMI port on a PS4 or you’re reballing a BGA chip on a Macbook Pro, the one thing you’ll need for sure (other than soldering tools) is a microscope. It is very difficult to microsolder without using a microscope. Microsoldering is done on small components like resistors, capacitors, or microchips to fix small problems that can cause significant issues. You will need a microscope for jobs like circuit board repair. Since microsoldering deals with such small components, you will need a microscope to properly repair those items.

There are many different types of microscopes, and many don’t work well for soldering or microsoldering. I’ve bought a number of different scopes, and I’ve researched many more. I wanted to share a list of my favorite microscopes that work really well for microsoldering.
AmScope SE 400-Z
- Approximate Price: $225 on Amazon
- Magnification Range: 1x,10x, and 20x
- Working Distance: 9 inches/22.86 centimeters
- Light Type: adjustable gooseneck LED light
- Weight: 14.42 pounds
The Amscope SE 400 is a binocular 10x and 20x stereo microscope. It is on a boom-arm, allowing you to turn the head around on both the X and Z axes for inspection of your components. This soldering microscope has a high resolution, a wide field of view, and a considerable working distance. The LED shines a bright light perfect for electronic repair. It is considered an ideal microscope for anyone in electronic repair.
- Check out this microscope on Amazon (paid link): AmScope SE 400-Z
This was my very first microscope. I was just using a headpiece that had a magnifying glass before I got this microscope. It was terrible to solder with the headpiece. A soldering microscope made inspecting workpieces so much easier.
Even though this scope is nothing fancy, it’s really nice for electronics repair. You can get very close to your work and inspect solder joints and components easily, which is necessary for circuit board repair. The main downside is that it’s not very adjustable. You may have to move your workpiece around a lot to get a good angle to inspect your soldering work. This is still an excellent microscope for a beginner learning how to solder.
AmScope SM-4NTP
- Approximate Price: $600 on Amazon
- Magnification Range: 0.7x-4.5x objective lens and 7x-45x zoom magnification
- Working Distance: 4 inches/10.16 centimeters
- Light Type: 150W halogen illuminator with 35" heavy-duty fiber-optic ring-light
- Weight: 55.8 pounds
The AmScope - SM-4NTP has a 3D boom-arm so that you can point the head in any direction. There are ball bearings on the arm to provide smooth movement, and it can easily be used to push the microscope out of the way when it’s not needed. The lenses can also be adjusted to maintain a consistent focus. These features make it easier to do your work.
- Check out this microscope on Amazon (paid link): AmScope SM-4NTP
When I started doing more advanced soldering work, I realized I needed a microscope that had more adjustments. It was challenging to do some jobs because I couldn’t get a good angle on my workpiece. Once I started my YouTube channel, I found that I needed a microscope with a “trinocular head.” That way, I could use a camera to record as I worked on a project.
This soldering microscope is really adjustable, which is excellent for working on various-sized motherboards. It makes soldering so much easier when you can get your work in just the right position. The main downside of this scope is that it’s much more expensive than the Amscope SE 400. I believe it is worth it, though, because it will make your work much more enjoyable to do.
Andonstar ADSM302
- Approximate Price: $225 on Amazon
- Magnification Range: up to 560x
- Focus Range: 2-8.6 inches/5-22 centimeters
- Screen: adjustable 5-inch screen and wireless remote control
- Light Type: 2 LED lights that are adjustable on either side
- Weight: 4.18 pounds
The Andonstart ADSM302 has two LED lights with various intensity levels, perfect for inspecting your work. It uses an SD card to store footage up to 32 gigabytes. The soldering microscope also comes with professional measurement software developed by the company. You can connect the microscope to your laptop and access the software for your projects.
- Check out this microscope on Amazon (paid link): Andonstar ADSM302

This was my first digital microscope. I’d looked into buying digital microscopes before, but most of them looked cheaply made, had small working distances, and hadn’t really been proven in the industry to work well for soldering work. I first saw another YouTuber using this microscope, and I was impressed with the overall quality of it. I loved this microscope from the first soldering job I used it for. I wish they had these when I was buying my first optical microscope!
This soldering microscope is small and easy to move around. It has a reasonable working distance that makes it easy to complete projects. The image quality is great, and the microscope will record right onto an SD card when you are filming. The main downside is that the screen is a little small. It is still a great digital microscope to use.
Andonstar AD249S-M
- Approximate Price: $275 on Amazon
- Magnification Range:
- Lens A: 18-720x
- Lens D: 1800-2040x
- Lens L: 60-240x
- Focus Range:
- Lens A: 0.47-12.6 inches/1.2-32 centimeters
- Lens D: 0.16-0.20 inches/0.4-0.5 centimeters
- Lens L: 3.54-11.81 inches/9-30 centimeters
- Screen: 10.1 inches LCD with wireless remote control
- Light Type: two adjustable LED lights on the side with eight intensity settings
- Weight: 5.52 pounds
The Andonstar AD249S-M has a lot of lenses available, which makes it an excellent product for a variety of projects. The different lenses can be easily exchanged by removing and installing screws on the microscope. A great feature of this soldering microscope is it allows you to film in 2160p, so your footage has a higher resolution. It also comes with professional measurement software that can be accessed when connected to a computer.
- Check out this microscope on Amazon (paid link): Andonstar AD249S-M
A larger screen was the one thing I wished my first digital microscope had. Luckily, Adonstar came out with a similar digital scope with a larger LCD screen. This is the main microscope I currently use for most projects. I really like using this one because I can see my work so easily. Whether I’m inspecting solder work or trying to read text on tiny chips, this microscope makes everything easy.
It’s small and light but heavy enough to stay where it is put. This microscope also records onto a microSD card, so it’s great for filming projects. The one thing that could be better about this microscope and the previous Andonstar microscope is if it had a ring light attached right to the tube of the scope. This is a great soldering microscope for the price and is perfect for electronics repair.
Conclusion
Microscopes are an essential tool in repair projects that involve microsoldering, like circuit board repair. If you plan on doing many projects involving microsoldering, you will need a good microscope. While everyone has specific needs depending on their situation and setup, I can recommend all of these microscopes.
If I were to buy my first microscope today, I’d buy the Andonstar AD249S-M. I think digital microscopes are finally ready for everyday use, and they are very reasonably priced compared to optical models with similar features.
Additional Information
Check out our post on 5 Tips for Soldering Electronics (for Complete Beginners) if you're just getting into soldering and are looking for a great overview.
If you want to watch videos to learn how to solder, we recommend trying our Game Console Repair School. There are three courses that can help you learn how to solder from beginner to advanced levels.
The first course is called Practical Solder for Complete Beginners and was made for those who have no experience in soldering. It includes seven in-depth training lessons and access to our community. The best part is it’s free!
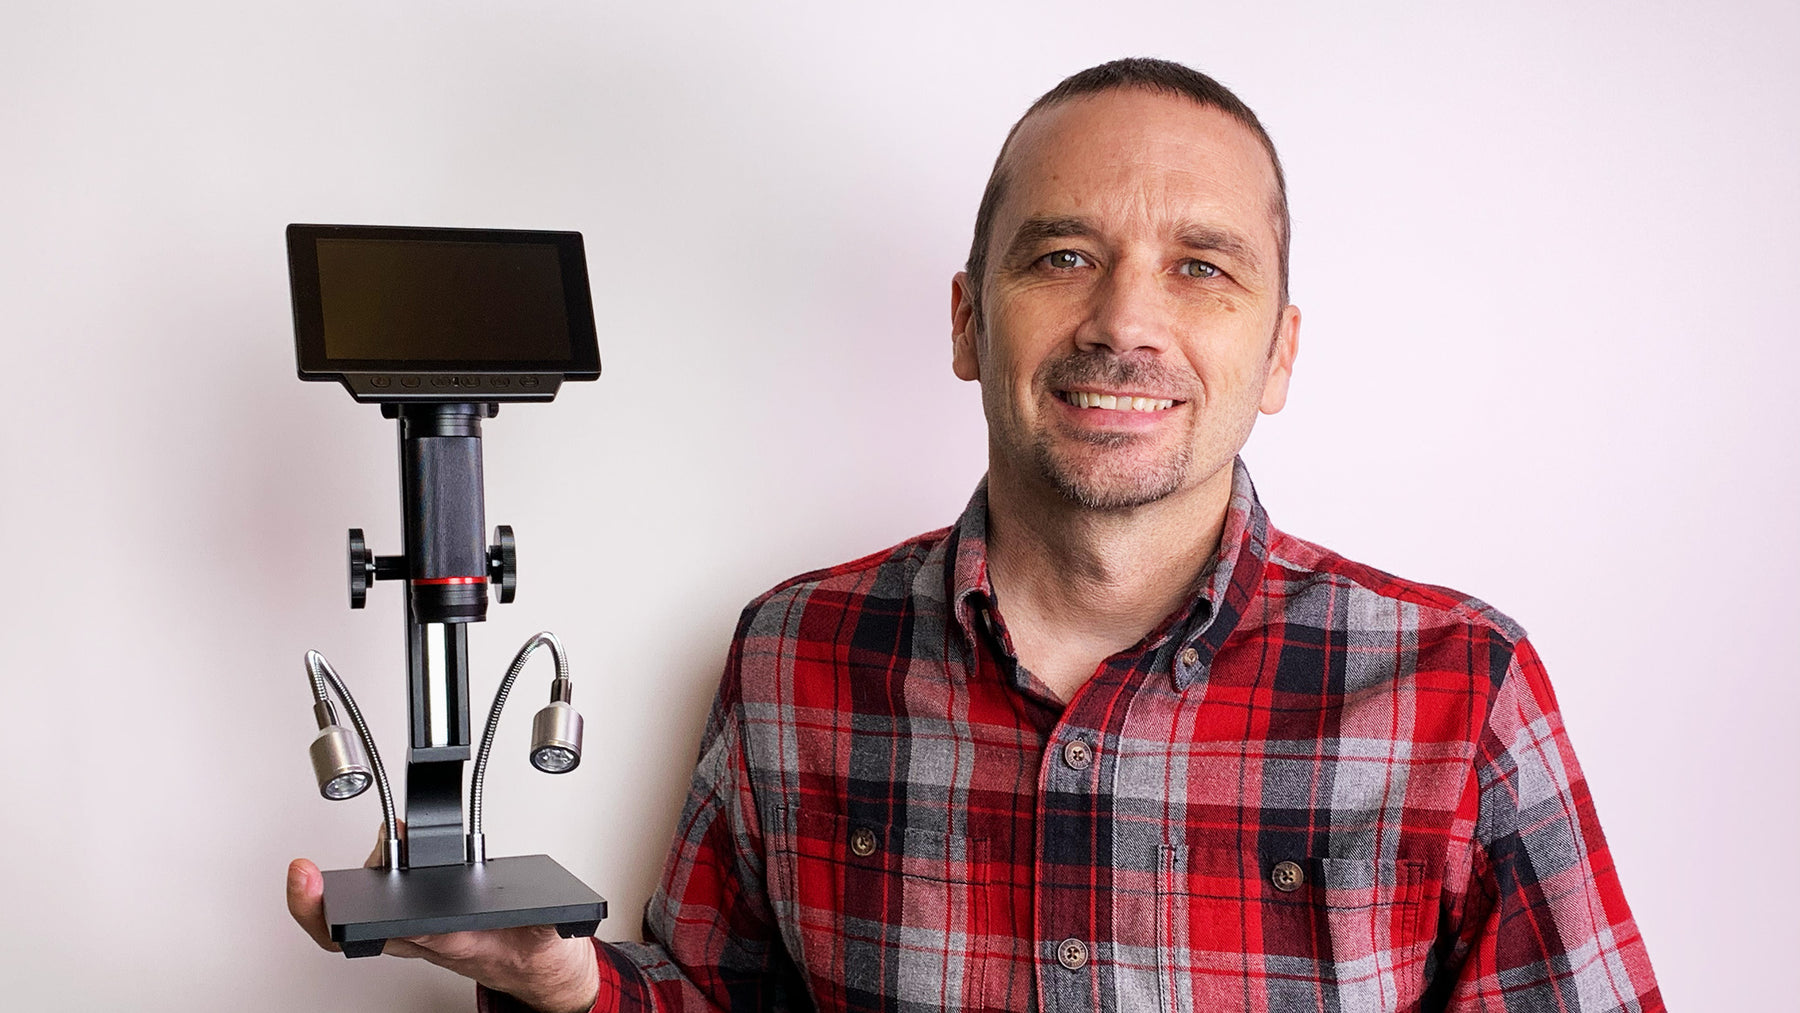
About the Authors
 Steve Porter is a video creator with a passion for DIY repair. When he's not making videos he enjoys hiking, working on his property, and hanging out with his friends and family.
 Jocelyn Seaton is a writer for TronicsFix who enjoys helping others learn new things. In her off time you will find her reading and spending time with her family.